Before starting a painting, I usually apply a color toned ground to the painting panel. I like to use a medium value earth color, like sienna, umber, or ochre. Having a tone already on the panel helps me see the relative light/dark and warm/cool character of the color I’m using right away. The undertone can help unify the overall surface. And outdoors, it cuts down the glare that happens with a white ground.
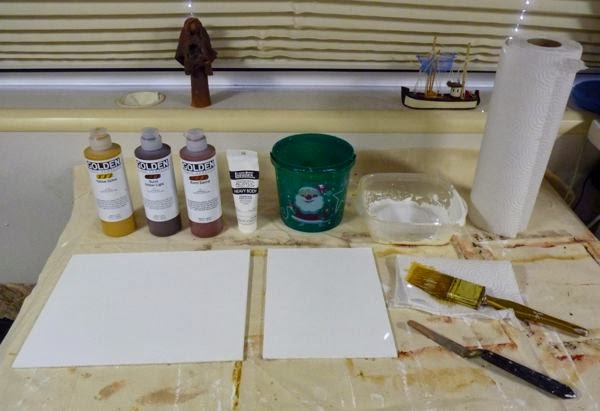
Toned ground materials
A variety of colors are used for different affects. A warm tone works good for bright sunny scenes. While a cooler tone is good for a gray day, or a waterscape. A red tone really makes the greens sing in a landscape.
Materials for Toning Panels
Panels are sealed and primed with acrylic gesso, and left to dry for 24 hours. Then the sizes are chosen to have the toned ground applied. They are usually small like 6×8, 8×10, 9×12. It just depends on what I need.
The paint needs to be thin, but not watery. I find that Golden Fluid Acrylics are pretty close to the correct consistency. A tiny bit of water or glazing medium can be added if needed. Colors used are Burnt Sienna for a reddish color, Burnt Umber for a cool tan, and Yellow Ochre for a golden affect. Adding Titanium White to any of these will lighten, cool and neutralize them.
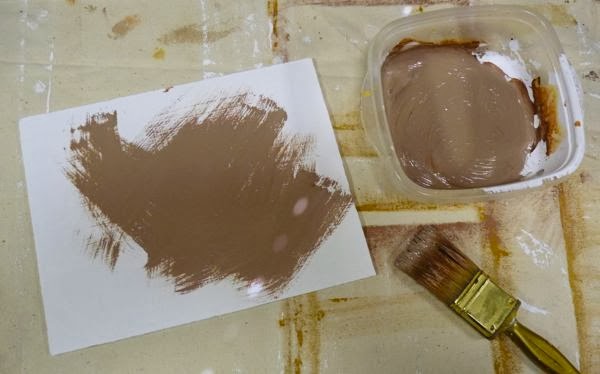
Color tone being applied
Applying the Color Tone
The color to be used is mixed to the desired hue, value and flow. Panels are laid flat on the canvas covered work table. A soft bristle brush is used to pick up a generous amount of paint which is randomly stroked onto the panel. It should cover well, but not be too thick. After it is evenly distributed, I lay the brush over and lightly stroke it horizontally from edge to edge.
When it looks good, I check for any stray hairs or specks. If found, they are removed and the surface is stroked again. Since acrylics dry fast, it’s important to work quickly; but, not so much as to create foaming. Wet paint on the edge can sometimes stick to the canvas. So, I move them slightly to be sure they don’t dry that way.
The prepared panels are left to dry for 24 hours before being used. That’s important so the color doesn’t pick-up when blocking in the first layers of the painting.
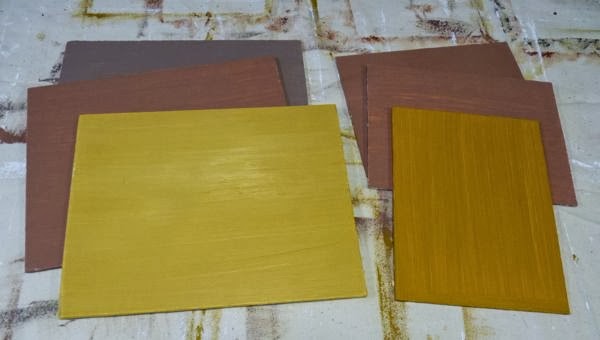
Completed toned ground panels
Preparing my own color toned ground is easy. Working on a toned ground really helps me to see the colors better right from the start. And, I like the overall tonal affect it gives to the finished painting.
In another post, I talk about Priming Panels with acrylic gesso.
The south west is the perfect place for you and your art.
You may be correct Jon. I do like the landscape. Plans are to continue the journey when the weather is conducive. So time will tell.