(Springfield OR)
After much research and planning, I had a solar system and other electrical upgrades done by AM Solar, that specializes in RVs. After showing me everything and explaining how it works, we had a discussion about my usage and lifestyle. They concurred that the set-up I had previously discussed with them would be good.
Before beginning, they described what they would do and how long it would take. While working, they asked for my input on placement of items, and allowed me to look in from time to time. This is what I got.
System Core:
– SunRunner Signature 25/6/Pro (up to 400W)
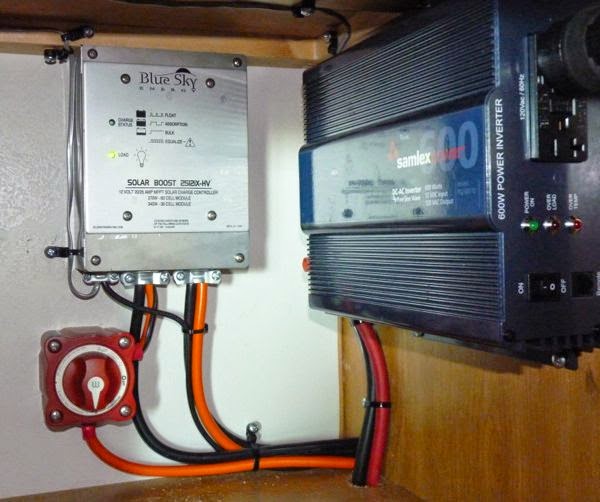
– Blue Sky Solar Boost 2512iX MPPT Charge Controller
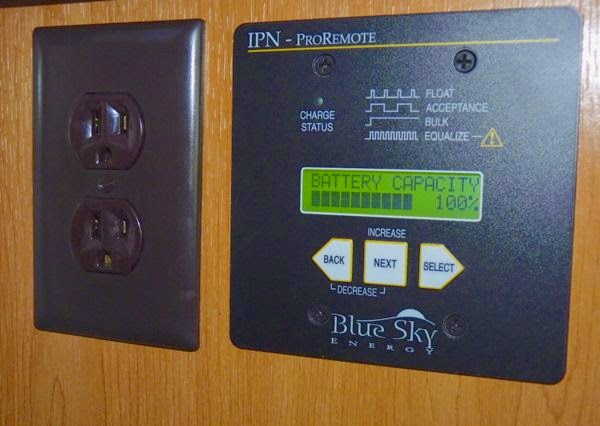
– Blue Sky IPN ProRemote full feature Meter/Control Panel/Battery Monitor
– Shunt kit for IPN Meter
– Temperature Compensation Sensor
– 6 Gage Wire Harness with 30A circuit breaker
Monitors solar input and intelligently keeps batteries properly charged
installed directly above battery box
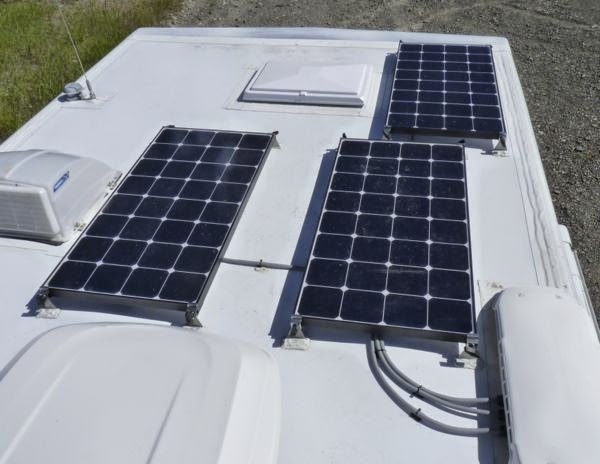
Panels:
GS100 Solar Panel Kit – 3x 100W for 300W
with Tilt Bar Set for winter time angle adjustment
Wire Routing:
Refrigerator Vent Combiner-Box
brings the roof wiring straight down to the batteries
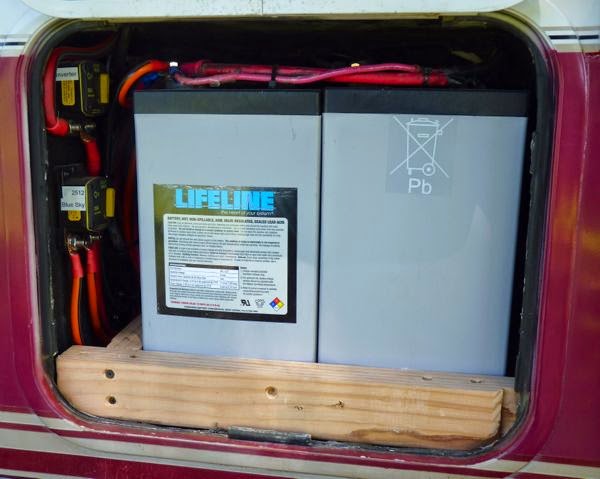
Batteries:
AGM Lifeline GPL-6T – 2x 6V for 300Ah at 12V
they should last 6 years or more
installed in existing battery box
Inverter:
600W Samlex Pure Sine Wave inverter hard wired to batteries, with outlet
used primarily for charging my laptop and other electronic devices
installed directly above battery box
Converter/Charger:
45A-725W Progressive Dynamics PD-4645C 4-stage
(replaced existing Parallax 7345)
a common upgrade that improves charging via shore power and genset
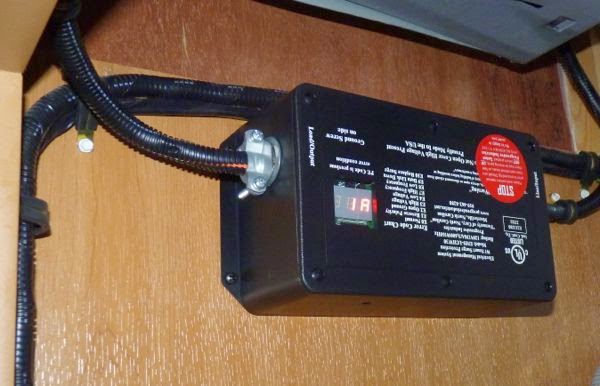
Electrical Management System:
EMS-HW30C Progressive Industries hardwired with read-out
whole house protection from bad shore power
installed in cabinet beneath stove
In my Lazy Daze Twin-King, there is a cabinet just above the battery box. That is where the solar charge controller and inverter were placed. It makes for a very short wire run from the batteries. The Control Panel and inverter outlet are on the side of that box by the entry door. The EMS is in the cabinet under the stove, right where the 30A cord enters the rig.
When they completed their work, I received thorough training on the system and using the Meter/Control Panel/Battery Monitor. I was really pleased with their knowledge and attention to detail; it was a very professional and clean install.
For more posts that show other mods to the rig see the Tardis page.
Camp: On site at AM Solar
Scene: River slough, flowers, trees, building

Looks like you got a good system for boon-docking. Just go easy on electric use.
I’m pretty conservative with electric usage. So far it is providing more than I need. Winter will tell if it is sufficient.
Quite an upgrade – but for your style of travel it will be worth it. Is there a way to calculate the payback?
Payback depends on comparative costs and amount of usage. For me, that is a non-issue. It’s the freedom to be off grid as much as I want that matters to me.
Would you mind mentioning the price this cost for equipment and install? (Those AGM batteries I’m sure were a pretty penny)
Thanks!
As mentioned, I had several electrical modifications done in addition to the solar equipment. I don’t feel the price I paid would be typical. Every install is slightly different, and the cost varies due to equipment and the rig it is installed in. I suggest you contact AM Solar for a free estimate of your specific needs. Or, use their website which has prices listed. For sure there are cheaper ways to get solar on your rig; so, do some research on the internet for options.